- Space and Accessibility Benefits: Converting a bathtub to a shower can open up floor space, make the bathroom easier to use, and improve accessibility for children, seniors, or people with mobility challenges.
- Thorough Planning is Key: Accurate measurements, plumbing checks, shower type selection, budgeting, and ventilation considerations are essential for a successful conversion.
- Right Tools and Materials Matter: Having all necessary tools (tape measure, saw, level, caulking gun) and materials (shower base, walls, fixtures, waterproofing) ready prevents delays and ensures smooth installation.
- Step-by-Step Installation: The process involves removing the tub, preparing the space, installing the shower base, waterproofing walls, adding tiles or panels, installing fixtures, and sealing the shower properly.
- Waterproofing Prevents Future Problems: Using cement backer board, waterproof membranes, and sealing all seams protects your home from leaks, mold, and structural damage.
- Time and Professional Help: DIY conversions typically take 3–7 days; professionals can complete it in 2–5 days. Hiring a licensed plumber may be necessary for complex plumbing adjustments.
- Design and Value Considerations: Properly executed conversions enhance the bathroom’s aesthetics, functionality, and potentially increase home resale value.
Converting a bathtub into a shower is one of the most popular bathroom upgrades today. Whether you’re looking to save space, improve accessibility, or modernize your bathroom, a bathtub to shower conversion is a smart choice. In this guide, we’ll walk you through everything you need to know, from planning and preparation to design tips and step-by-step installation.
Why Convert a Bathtub to a Shower?
Bathtub to shower conversions have grown in popularity for several reasons:
- Space Optimization: Showers take up less floor space than bathtubs, making your bathroom feel larger and more open.
- Ease of Use: Walk-in showers are easier for children, elderly family members, or anyone with mobility challenges.
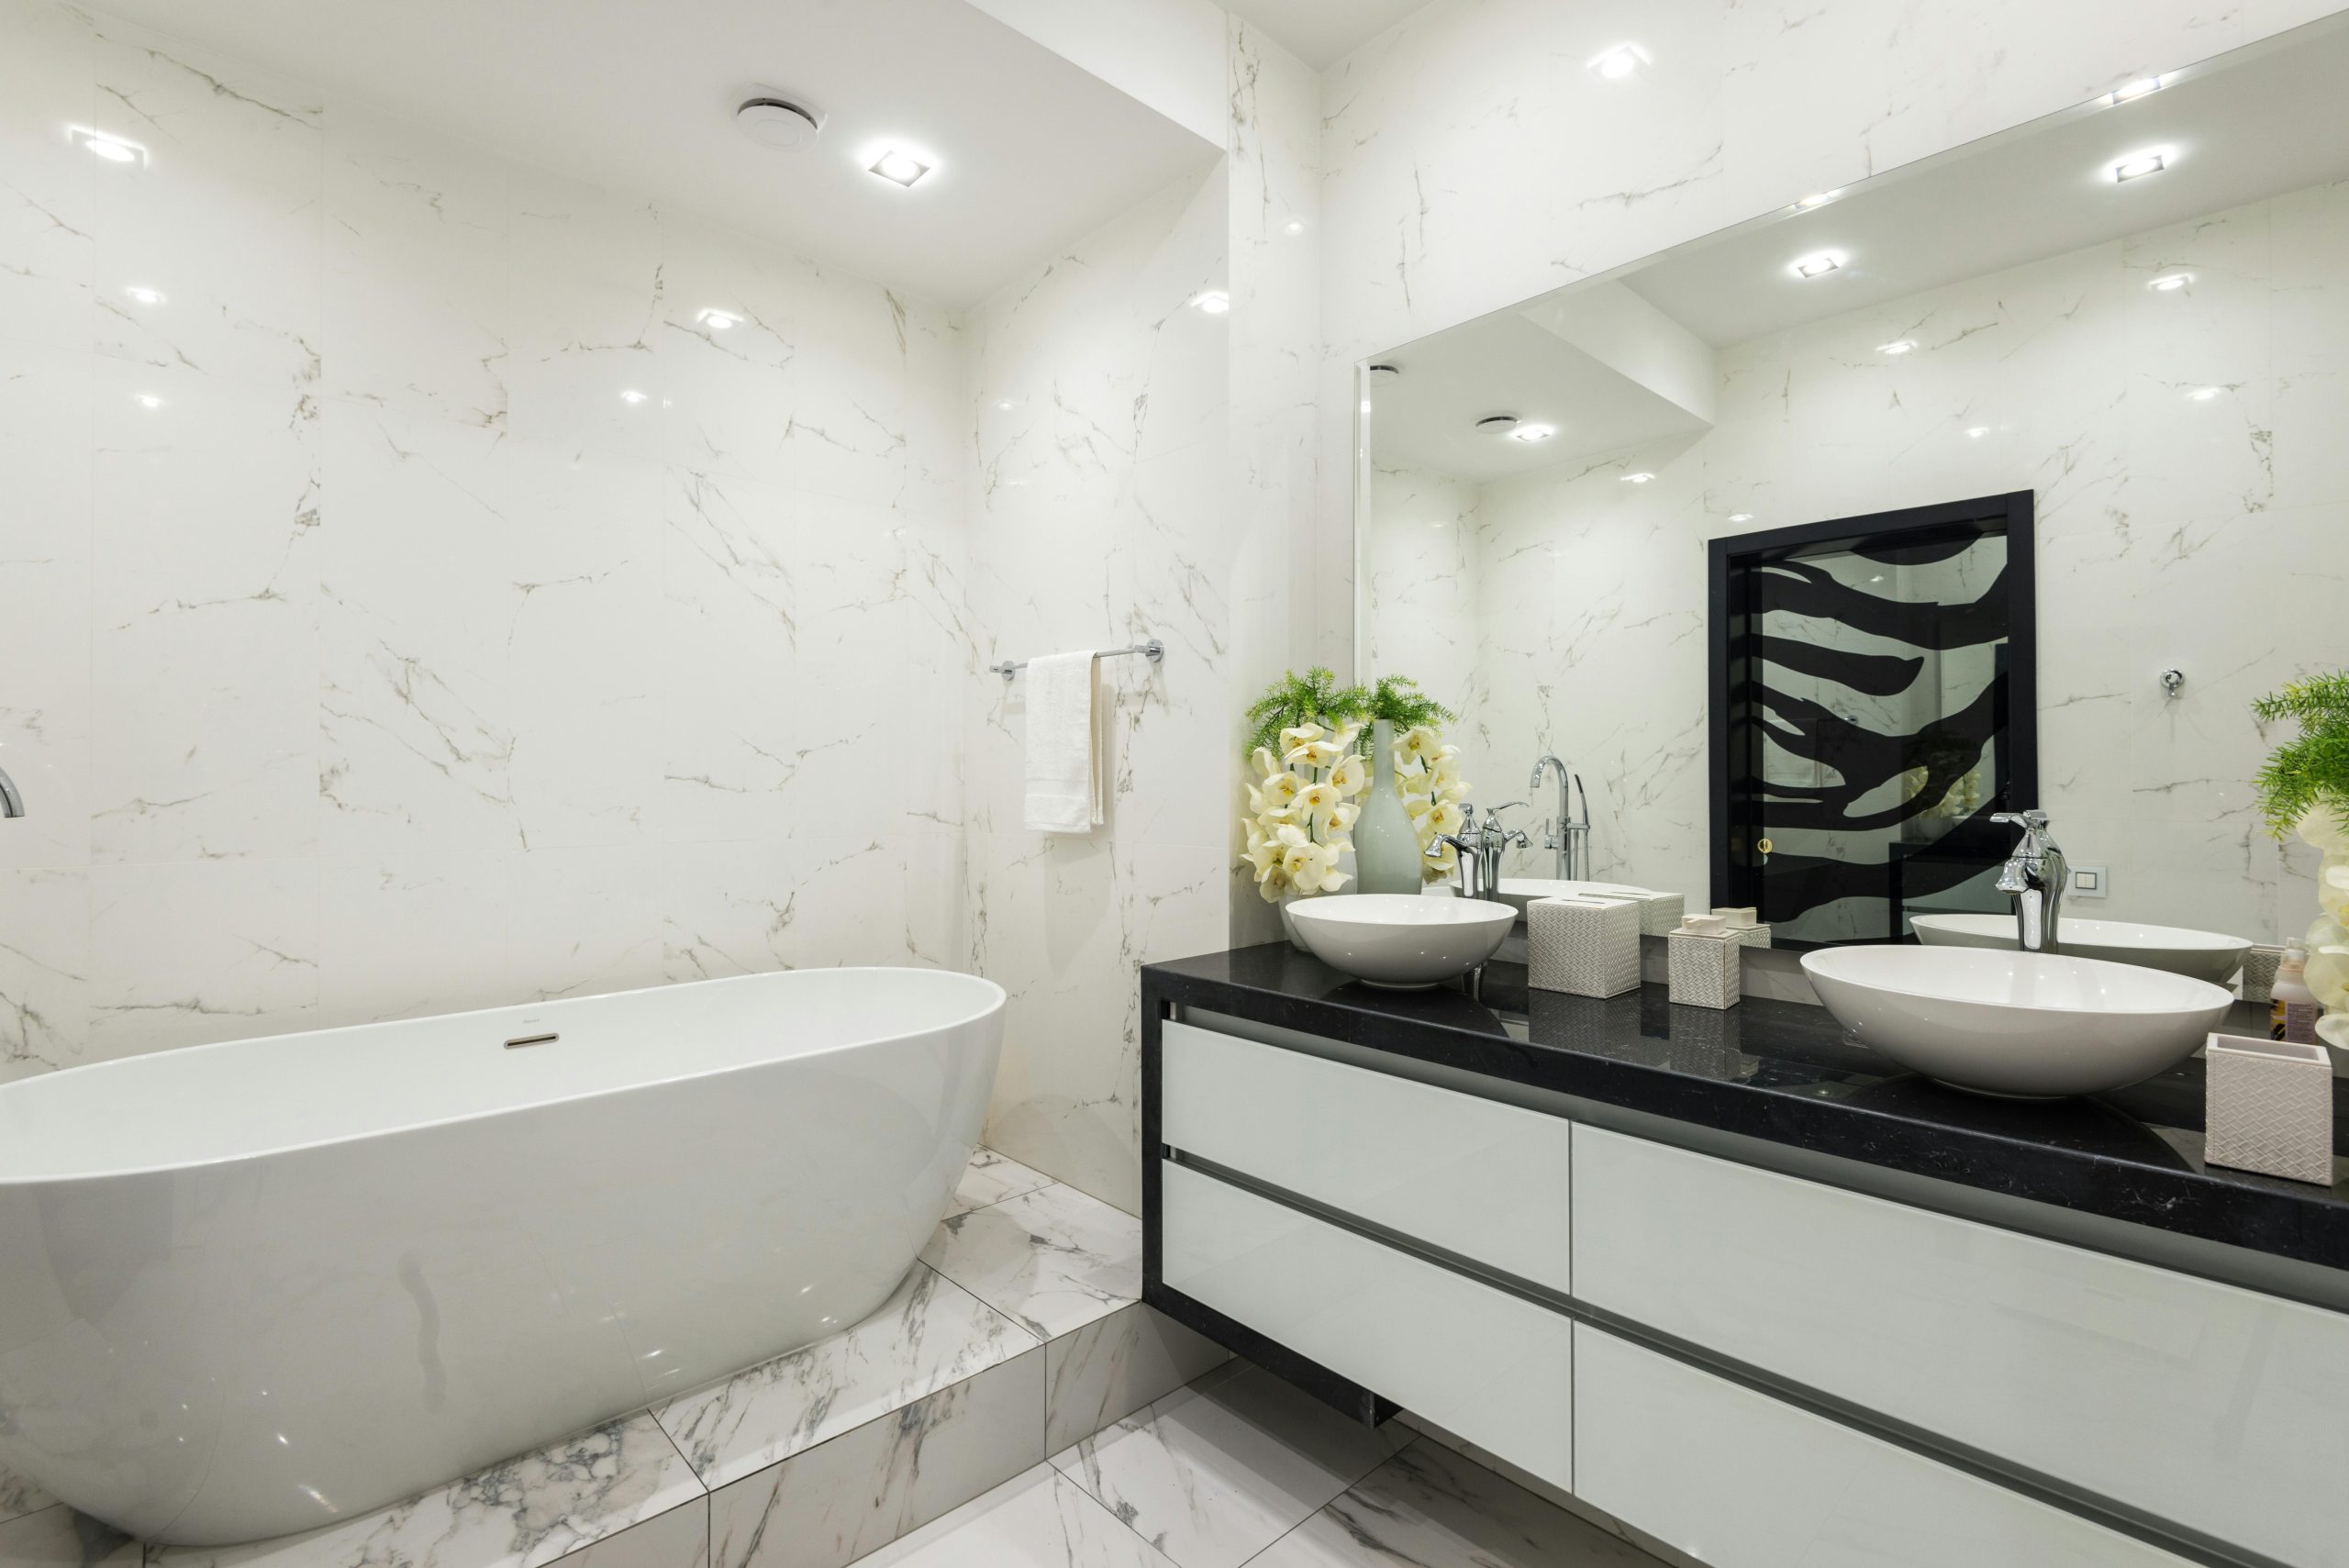
- Modern Aesthetic: Replacing a bulky tub with a sleek shower instantly updates your bathroom’s look.
- Maintenance: Showers are easier to clean and maintain compared to bathtubs.
- Increased Home Value: Many buyers prefer modern showers, making this a smart renovation for resale potential.
Converting your bathtub to a shower can seem daunting, but with the right planning, tools, and approach, it’s a manageable project for DIY enthusiasts or contractors.
How Do You Plan a Bathtub to Shower Conversion?
Planning is the foundation of a successful bathtub to shower conversion. A clear plan helps you avoid costly mistakes, ensures proper functionality, and guarantees the final shower meets your style and space needs. Here’s how to plan carefully:
Measure Your Space
Accurate measurements are crucial for a seamless installation.
- Width, Depth, and Height: Measure the full dimensions of your existing bathtub area. Pay special attention to the distance from the floor to the ceiling, as this determines showerhead height and clearance for glass doors.
- Consider Obstructions: Check for light fixtures, towel bars, or vent placements that might interfere with a new shower design.
- Door Swing or Curtain: If installing a door, make sure there’s enough room for it to open comfortably without hitting walls or other fixtures.
Check Plumbing and Drainage
Proper plumbing ensures your new shower functions efficiently and prevents leaks.
- Drain Compatibility: Determine whether your current tub drain aligns with the new shower drain. Some minor adjustments may be needed for proper slope and flow.
- Water Lines: Confirm that existing hot and cold water lines match the location of your new shower faucet. If not, you may need to reroute pipes or extend them.
- Future Maintenance: Consider installing shut-off valves behind the wall for easier repairs in the future.
Decide on Shower Type
The type of shower you choose affects cost, design, and installation complexity.
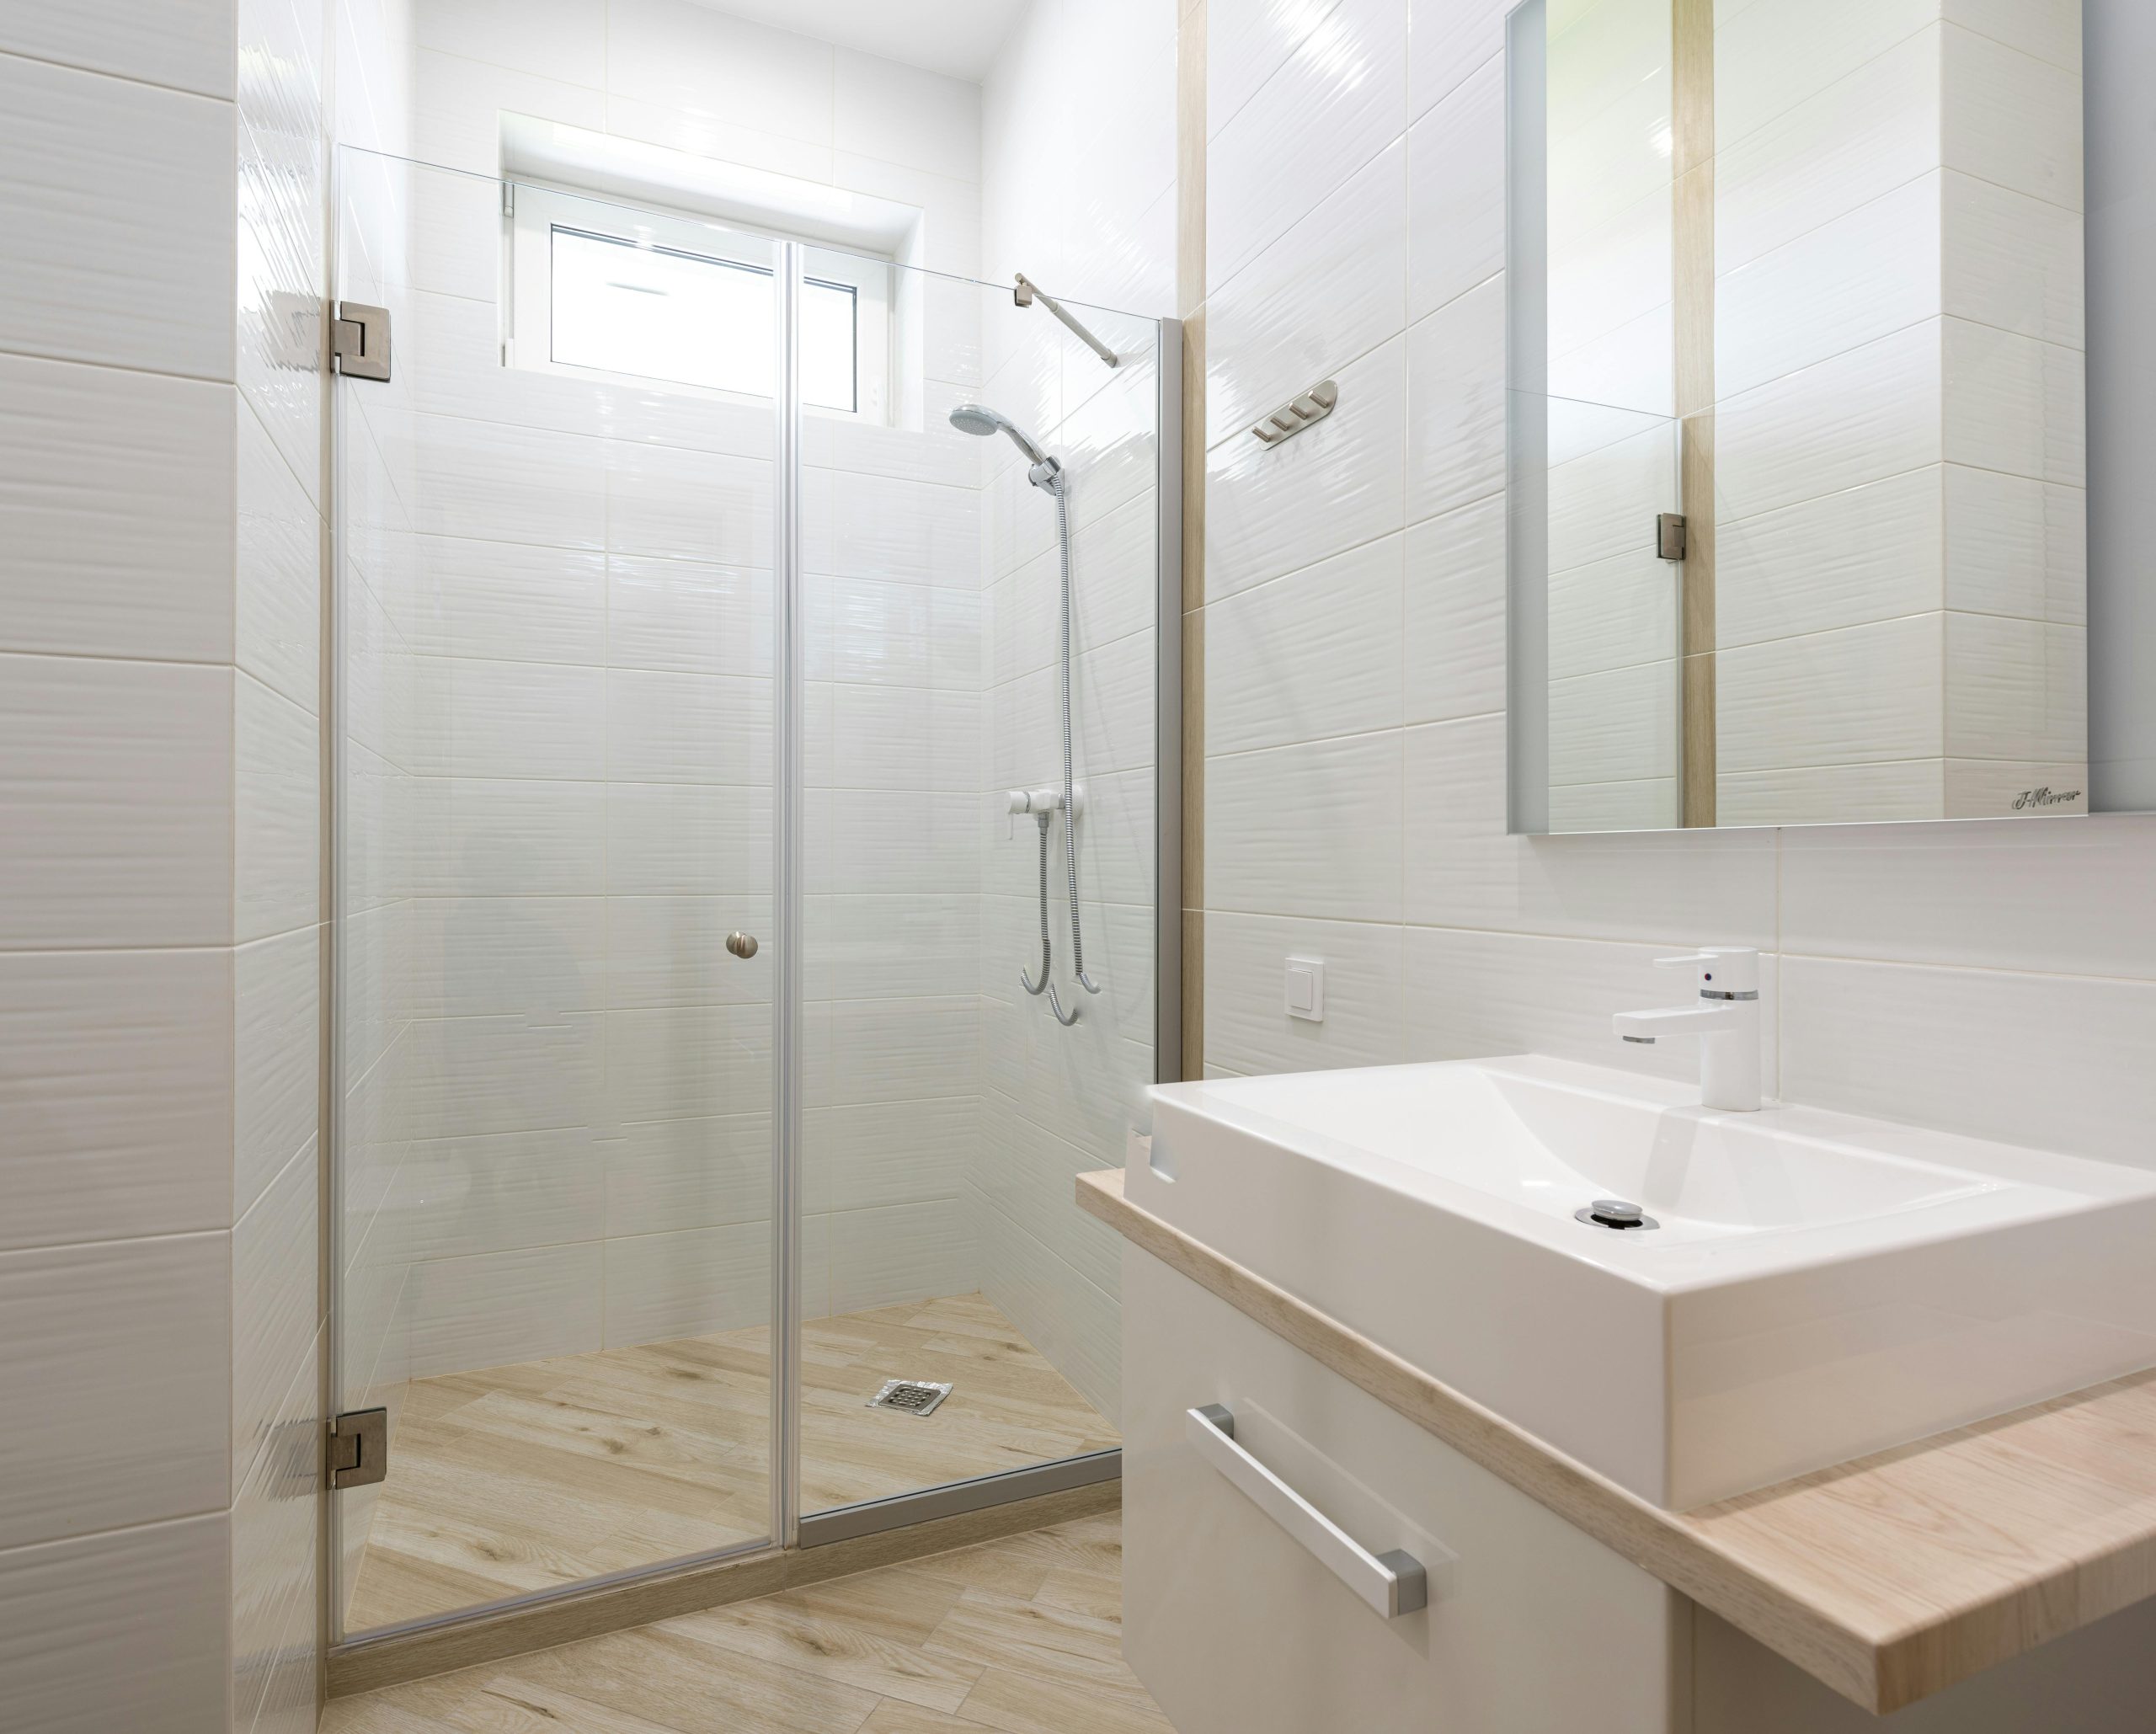
- Walk-In Shower: Ideal for accessibility and modern aesthetics. A low-threshold design makes it easy for seniors or children to enter safely.
- Shower with a Glass Door: Creates a polished, high-end look while keeping water contained. Sliding or hinged doors offer different space-saving options.
- Shower Stall Kit: Pre-fabricated units simplify installation and are often more affordable than fully tiled showers.
Budget Planning
A bathtub to shower conversion can vary widely in cost depending on materials, labor, and design choices.
- Demolition: Includes removing the tub, old wall panels, and any damaged subfloor.
- Plumbing Adjustments: Adding or rerouting water lines and drains may require a professional plumber.
- Waterproofing & Tiling: Materials and labor can vary depending on the tile type or whether you choose a prefabricated surround.
- Fixtures & Finishes: Faucets, showerheads, doors, and accessories can significantly impact your budget.
Consider Ventilation
Proper ventilation is essential to prevent mold, mildew, and long-term damage.
- Bathroom Fan Upgrade: If your current fan is undersized or outdated, install a more powerful model to remove excess moisture.
- Window Ventilation: If available, a window can supplement airflow, but fans are still recommended.
- Humidity Sensors: Some modern fans include sensors that activate automatically when moisture levels rise.
What Tools and Materials Do You Need?
Having the right tools and materials on hand before starting prevents delays and ensures a smoother installation.
Basic Tools:
- Tape measure
- Utility knife
- Screwdrivers and drill
- Pry bar and hammer
- Level for precise measurements
- Caulking gun for sealant
- Reciprocating saw for tub removal
Materials:
- Shower pan or base (acrylic, fiberglass, or tile-ready)
- Shower walls (tiles, acrylic panels, or pre-fab surrounds)
- Shower faucet, valves, and fixtures
- Drain assembly
- Waterproofing membrane or cement backer board
- Silicone sealant
- Screws, anchors, and spacers for installation
Tip: Organize your tools and materials in advance to reduce trips to the hardware store and avoid interruptions during installation.
Step 1: Remove the Bathtub
Removing the old tub is the first physical step in your conversion.
- Turn Off Water Supply: Shut off water valves to prevent leaks during removal.
- Disconnect Fixtures: Remove the faucet, spout, and drain assembly carefully.
- Remove Surrounding Wall Panels or Tiles: Take down tiles or panels to expose the tub flange. Be gentle to avoid damaging walls you want to reuse.
- Cut and Remove Tub: For acrylic or fiberglass tubs, score and break into sections. For cast iron tubs, heavy-duty saws or professional help may be required.
- Dispose of the Tub Properly: Many tubs can be recycled. Check local guidelines for disposal or recycling centers.
Step 2: Inspect and Prepare the Space
Once the bathtub is gone, the area must be prepped before installing your new shower.
- Check for Water Damage: Look for mold, rot, or warping in the subfloor or wall studs. Replace any damaged materials.
- Reinforce Structure: Ensure the subfloor is solid to support a shower base and any additional weight from tiles.
- Clean Thoroughly: Remove dust, debris, and old adhesive to create a smooth, stable surface.
- Plan Wall Backing: Decide whether to use cement backer board, waterproof panels, or a prefabricated surround.
Step 3: Install the Shower Base or Pan
The shower base is the foundation of your new setup, and proper installation is critical.
- Choose a Pan Type:
- Acrylic or fiberglass pans are lightweight and easy to install.
- Tile-ready pans allow for a fully customized tiling design.
- Level the Floor: Use a level to ensure the pan sits flat for proper drainage.
- Connect the Drain: Follow manufacturer instructions for watertight installation.
- Secure the Pan: Use adhesive, mortar, or screws depending on the pan type.
A properly installed base prevents leaks and ensures your shower will last for years.
Step 4: Waterproof the Walls
Waterproofing is essential to avoid leaks and mold growth.
- Install Backer Board: Cement board provides a solid base for tiles and waterproof panels.
- Apply Waterproof Membrane: Use liquid or sheet membranes to seal walls effectively.
- Seal Corners and Joints: Waterproof tape or silicone at seams ensures a leak-free shower.
Tip: Take your time with this step—it’s easier to fix errors now than after tiling or installing panels.
Step 5: Install Shower Walls or Tiles
Your shower walls define the look and function of your space.
- Tile Installation:
- Start from the bottom and work your way up.
- Use spacers for consistent grout lines.
- Seal all edges and joints to prevent water infiltration.
- Acrylic or Fiberglass Panels:
- Pre-fab panels can simplify installation and reduce grout maintenance.
- Ensure panels fit tightly and follow manufacturer instructions.
- Add Functional Features:
- Recessed niches for shampoo, soap, or other items.
- Glass doors or panels enhance style and contain water.
Step 6: Install Shower Fixtures
Shower fixtures impact both usability and style.
- Faucet and Valve Installation: Confirm proper water pressure and temperature control.
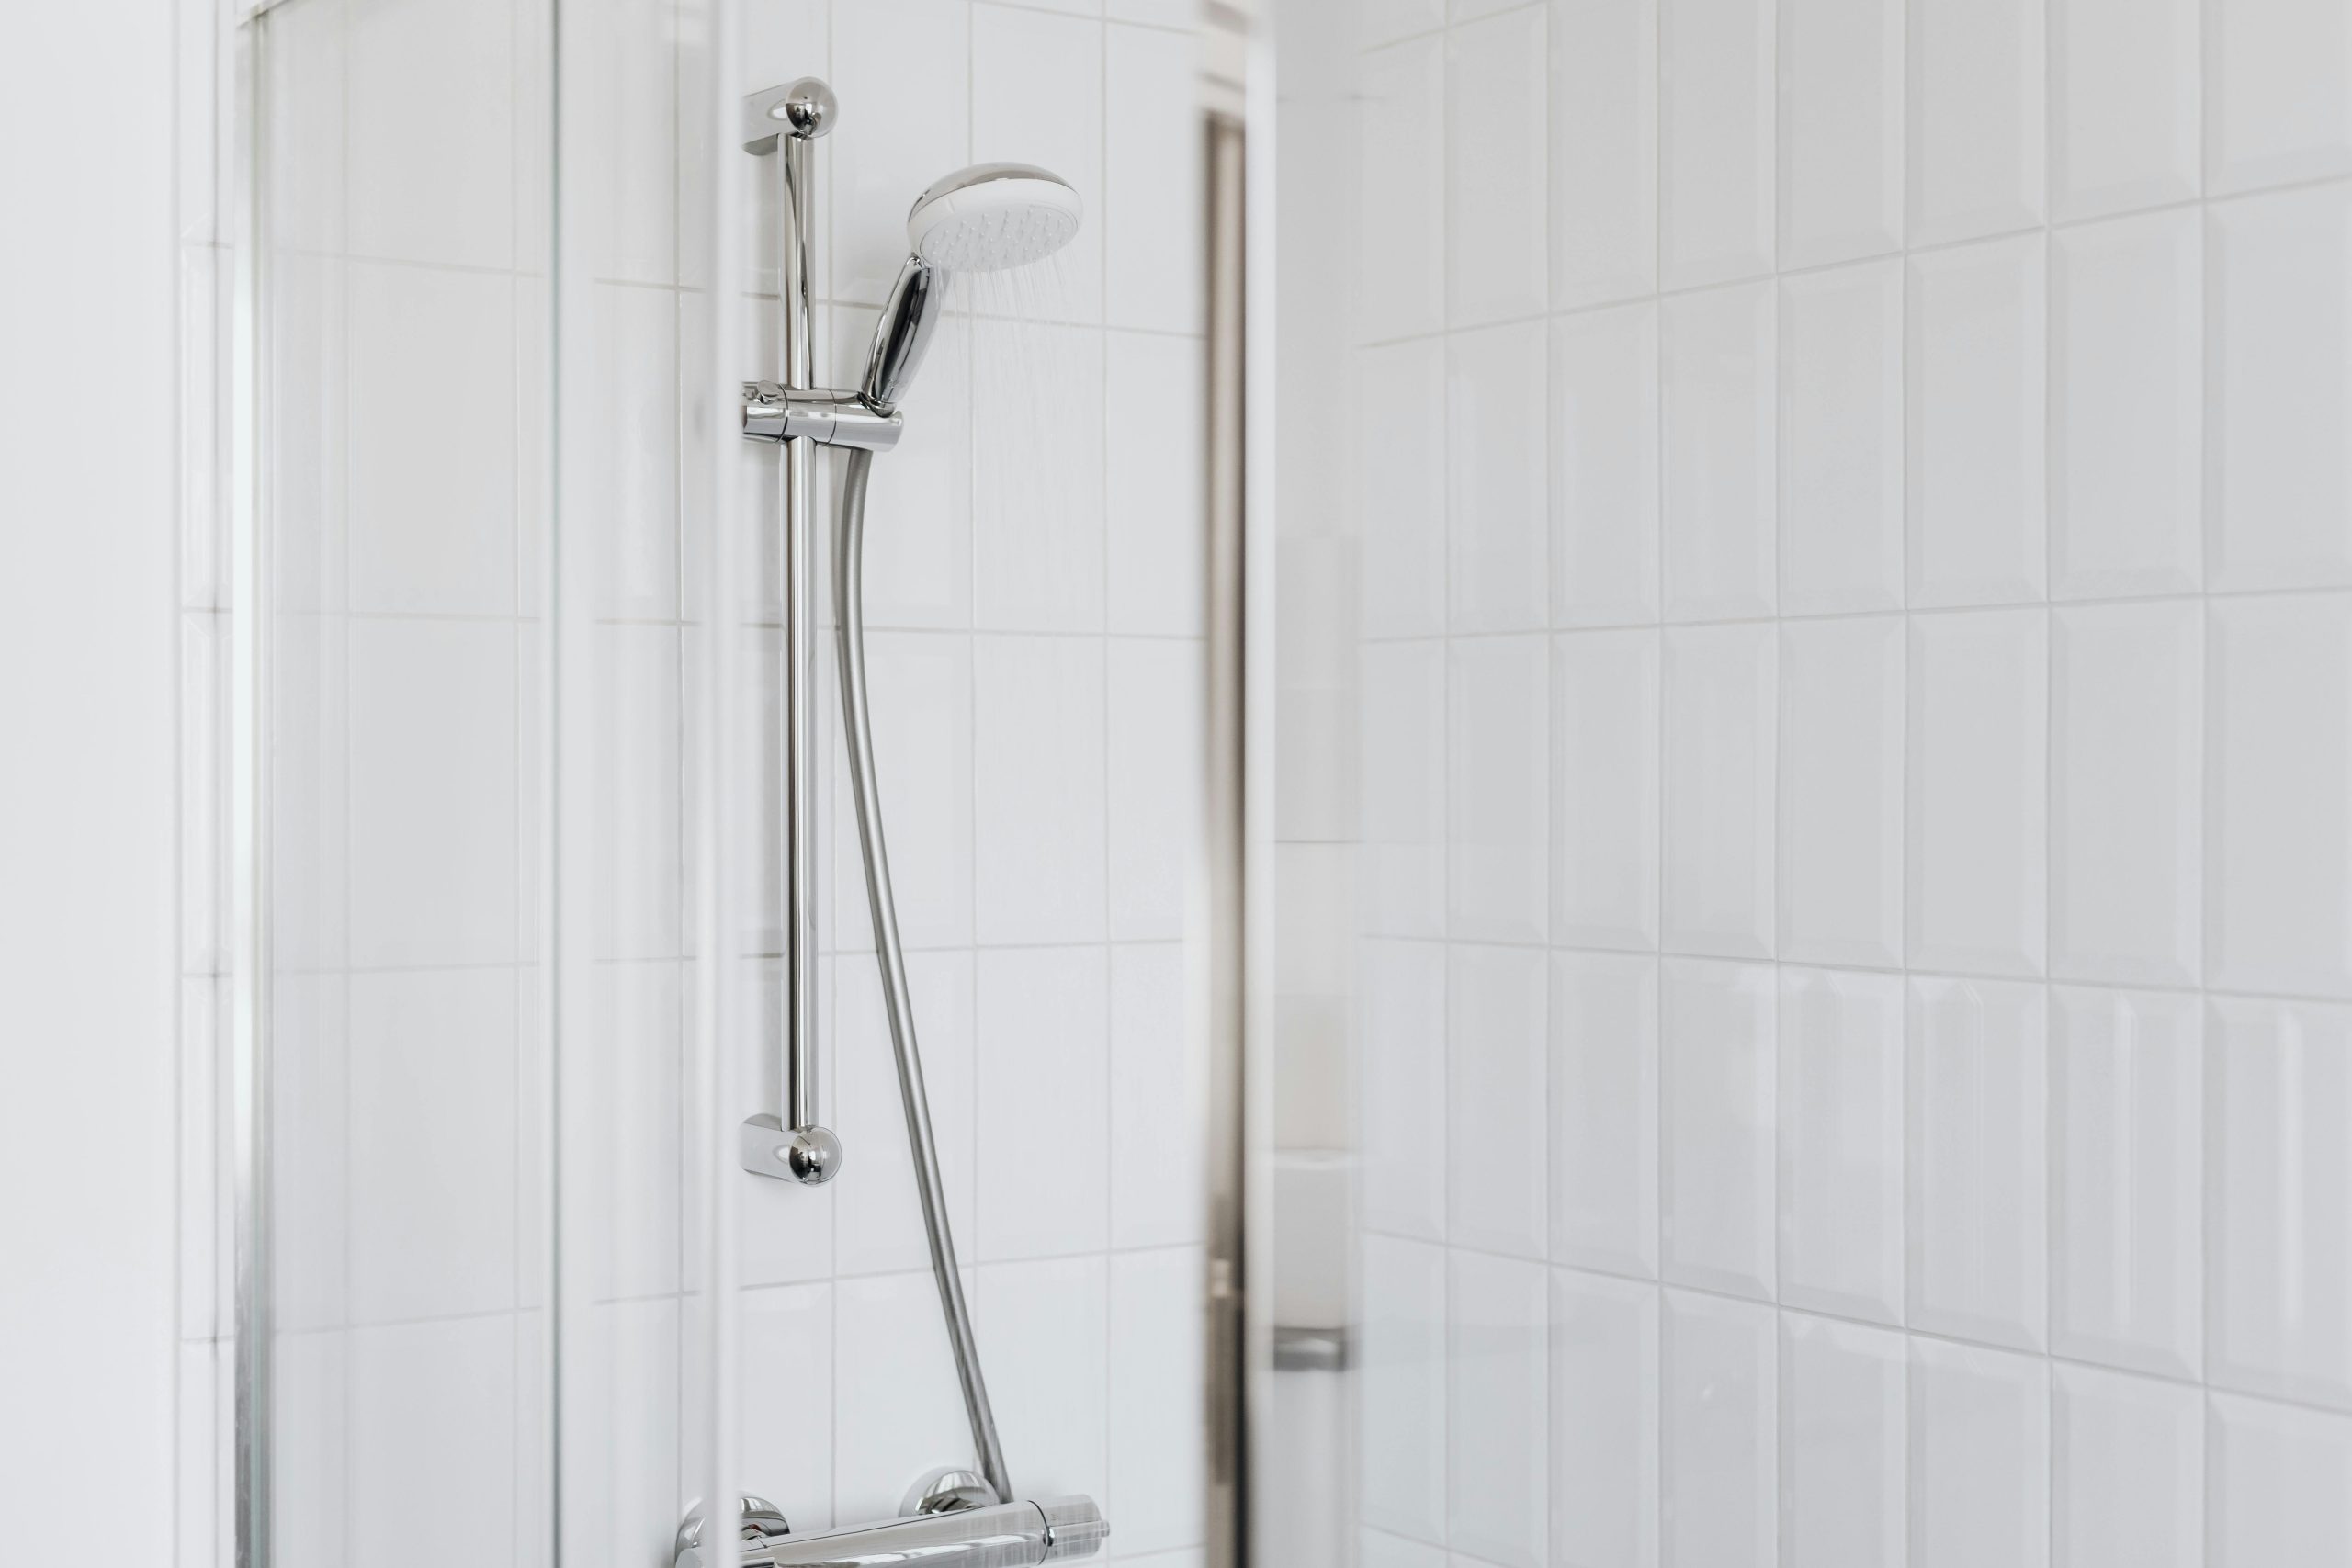
- Showerhead Placement: Consider height, angle, and reach for optimal comfort.
- Upgrade Options: Rainfall showerheads, handheld wands, or body sprays add a luxurious touch.
Step 7: Seal and Finish
Sealing ensures your shower is both functional and visually polished.
- Apply silicone around all edges, corners, and seams.
- Caulk between the shower pan and walls to prevent leaks.
- Double-check that all fixtures are secure and properly aligned.
- Allow all sealants to cure fully before using your shower.
How Long Does a Bathtub to Shower Conversion Take?
The timeline varies based on your approach and bathroom complexity:
- DIY Conversion: Typically 3–7 days for an average bathroom. Drying and curing times may extend this.
- Professional Installation: Usually 2–5 days, depending on plumbing adjustments and tiling.
Proper planning for drying and curing prevents leaks and ensures longevity.
How Much Does a Tube to Shower Conversion Cost?
Understanding costs upfront helps you plan your budget and avoid surprises. Prices vary depending on materials, labor, and whether you tackle the project yourself or hire professionals.
- DIY Conversion Costs:
- Materials only: $300–$1,500 for a basic setup with prefabricated shower base, panels, and standard fixtures.
- Tools: $50–$200 if you need to purchase items like a reciprocating saw, level, or caulking gun.
- DIY labor is free, but expect to spend several days installing and waterproofing.
- Professional Conversion Costs:
- Standard Conversion: $2,500–$5,000 for a mid-range shower with a prefabricated base, walls, and standard fixtures.
- Upgraded Materials: $5,000–$8,000+ for custom tile, frameless glass doors, high-end faucets, and luxury finishes.
- Plumbing Adjustments: Extra $200–$1,000 if pipes need rerouting or new drains installed.
- Factors Affecting Cost:
- Shower Type: Walk-in showers, tiled surrounds, or luxury glass enclosures increase costs.
- Bathroom Size: Larger spaces require more materials and labor.
- Structural Repairs: Subfloor reinforcement or water damage remediation can add $500–$2,000.
- Labor Rates: Hiring licensed plumbers or tile professionals can vary by region.
- Budgeting Tips:
- Always include a 10–20% contingency for unexpected expenses, such as hidden water damage or additional materials.
- Compare multiple contractor quotes if hiring professionals to ensure competitive pricing.
- Factor in permits if required by local building codes, as they may add $50–$500.
By understanding the full cost range, homeowners can make informed decisions, balance DIY and professional work, and select materials and features that fit both their budget and long-term bathroom goals.
Tips for a Smooth Bathtub to Shower Conversion
- Plan Your Design: Select tiles, panels, and fixtures before demolition to streamline the process.
- Hire a Licensed Plumber if Needed: Especially if water lines require rerouting.
- Follow Safety Guidelines: Wear protective gear and handle tools carefully.
- Check Local Codes: Some areas have regulations for shower installation and waterproofing.
- Consider Accessibility: Features like grab bars, benches, or low-threshold showers improve usability for all family members.
Frequently Asked Questions
Can I convert a bathtub to a shower myself?
Yes, many homeowners successfully complete DIY conversions. However, plumbing or structural issues may require professional help.
Will a bathtub to shower conversion increase my home value?
In most cases, yes. Modern, accessible bathrooms appeal to buyers, especially in homes with limited bathroom space.
Do I need a new drain?
Not always. Existing tub drains can often be reused, but adjustments may be necessary for slope and waterproofing.
What’s the best flooring for a new shower?
Tile is the most common choice for durability and style. Acrylic or fiberglass bases are also popular for their ease of installation.
Final Thoughts
A bathtub to shower conversion is a practical, stylish, and valuable upgrade for any bathroom. Whether you want a modern design, improved accessibility, or better use of space, converting your bathtub into a shower can transform your bathroom experience.
With proper planning, the right tools, and careful execution, you can achieve a stunning and functional shower that will serve your home for years to come.