

Taking on a whole-home renovation is one of the most rewarding endeavors a homeowner can pursue, yet for newcomers, the sheer scale of the process can quickly feel staggering. When you stand in the middle of a house that needs work from floor to ceiling, inside and out, the path forward rarely looks like a straight line. You are not just picking paint colors or choosing cabinet hardware; you are taking on the management of an intricate ecosystem.
The biggest pitfall for first-time renovators is not a lack of vision. It is the chaos that comes from hiring the wrong people at the wrong time. A single misstep in trade selection creates a cascading domino effect. A delayed framing crew pushes back the electrical rough-in, which stalls the drywall team, which ultimately leaves your expensive custom finishes sitting in a damp garage for weeks.
To bring order to this complexity, you need to stop viewing your project as one massive overhaul and start viewing it as a series of distinct phases. Each phase requires a different skill set, a specific type of oversight, and a precise vetting process. By understanding how to evaluate and select the right trade specialists at every step of the journey, you can protect your financial investment, keep your sanity intact, and turn a potentially chaotic construction process into a smooth, structured success.
Phase 1: Establishing Main Project Oversight and Safety

Every successful large-scale build begins with a clear understanding of leadership and structural prep. Before a single decorative tile is ordered or a wall is taken down to create an open-concept living space, you must decide who is driving the ship and who is clearing the runway.
Determining Your Project’s Command Structure
For a complete property overhaul, your first major decision is choosing between hiring an overarching leader or acting as the manager yourself.
First, evaluate your overall project scope. If your renovation involves multi-room upgrades, structural shifts, complex permit workflows, and overlapping trades, brought-in oversight is invaluable. A reliable general contractor serves as the central hub of communication, taking on the burden of scheduling sub-contractors, pulling municipal permits, and maintaining safety standards. Conversely, if your scope is confined to isolated single-room updates, self-managing individual trade specialists may be feasible.
When vetting a primary oversight role, do not rely solely on online star ratings. Request a list of active job sites and visit one in person. A well-managed job site speaks volumes: material is stacked neatly, trash is contained, workers are wearing proper safety gear, and the site manager can answer your questions without searching through paperwork. If the site looks like a disaster zone, your future living room likely will, too.
Planning Safe and Controlled Demolition
The physical transformation of your home always begins with clearing out the old to make way for the new. Many homeowners treat teardown as a weekend DIY project, believing a sledgehammer and enthusiasm are all it takes. This is almost always a costly mistake. Hidden inside old walls are live electrical wires, pressurized plumbing lines, load-bearing studs, and potentially hazardous materials like asbestos or lead.
A complete site demolition workflow requires systematic preparation across three key areas:
- Hazard Identification: Test older materials for asbestos, lead paint, or outdated wiring before breaking open walls.
- Utility Isolation: Ensure plumbing lines, gas mains, and electrical circuits feeding the tear-out zones are fully shut off and capped.
- Waste Disposal Planning: Secure local municipal permits and coordinate dumpsters so debris is cleared immediately rather than piling up on site.
Bringing in a qualified demolition contractor guarantees that structural integrity is respected and hazardous elements are removed safely according to local environmental laws. When reviewing bids for this initial phase, look closely at how the proposal handles debris removal and site cleanup. A cheap estimate often excludes haul-away fees, leaving you with a mountain of waste blocking your driveway right when the next crew needs to deliver lumber.
Phase 2: Securing the Exterior Building Envelope
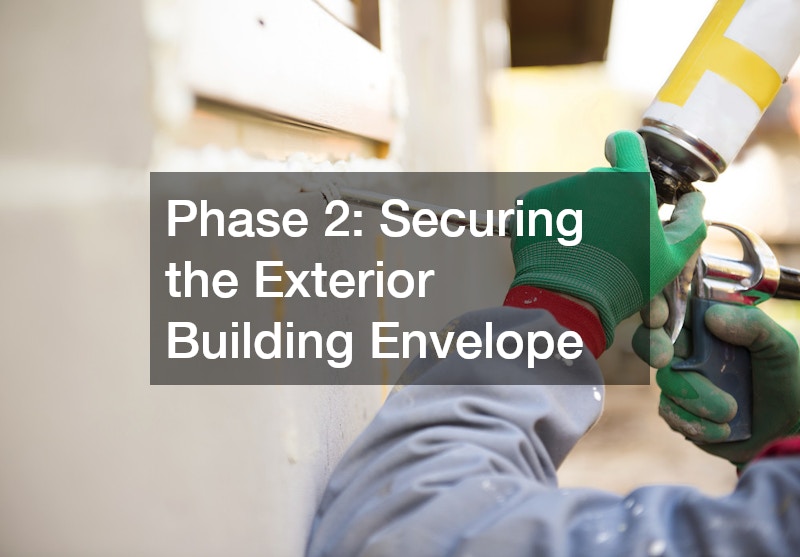
With the interior gutted and the project leadership in place, the immediate focus must shift to protecting the structure from the elements and organizing the job site to handle incoming materials.
Step 1: Protect the Overhead Structure
Never invest money in interior finishes until you are 100 percent sure the building envelope is watertight. Water intrusion can ruin brand-new drywall, rot subflooring, and ruin expensive custom cabinetry in a matter of hours. Hire an experienced roofer to conduct an exhaustive inspection of the existing structure, including flashing around chimneys, valley condition, and attic ventilation. If replacement is necessary, schedule this work before any high-end interior work begins. Ensure the team you select carries comprehensive liability insurance that specifically covers weather damage during the tear-off process.
Step 2: Establish Secure On-Site Storage
A whole-home project creates a massive logistical challenge: where do you put tools, raw materials, and salvaged items? Leaving expensive supplies out in the yard invites theft and weather damage, while cramming them into active work areas creates safety hazards and slows down workers. Installing high-quality storage sheds on the property early in the process gives trades a locked, dry location to store appliances, tile, fixtures, and power tools. This simple step keeps the main house clear for active construction and prevents costly delays caused by damaged or missing items.
Step 3: Implement Weather-Contingency Protocols
Even with a solid roof and secure storage, weather can disrupt your timeline. Establish clear terms with your exterior teams regarding how rain, high winds, or freezing temperatures will be handled. Your contract should stipulate how exposed structures will be tarped, how site runoff will be managed, and how schedule adjustments will be communicated so that downstream interior trades are not caught off guard.
Phase 3: Upgrading Core High-Value Interior Spaces

Interior renovations are usually where the bulk of a budget is spent, particularly in utility-heavy rooms like kitchens and bathrooms. These spaces demand a high level of technical precision because they combine plumbing, electrical, gas, HVAC, and custom finish work in tight quarters.
Imagine a scenario where a homeowner orders $30,000 worth of custom inset cabinetry, only to discover during installation that the main wall is bowed by half an inch and the plumbing rough-in sits three inches off-center. The cabinet installers stall, the plumber has to be recalled to open up the drywall, and the cabinet maker charges a restocking fee to modify the units. This nightmare is entirely avoidable when you hire trades that specialize deeply in these specific spaces rather than using general handymen.
Vetting Precision Interior Specialists
When selecting kitchen remodelers, look beyond their portfolio of finished photos. Ask to see “behind-the-scenes” photos of their rough-in work before the drywall goes up. High-quality trade professionals take pride in neat wiring runs, square framing, and clean plumbing layouts.
Be on the lookout for critical red flags during the vetting process:
- Hand-drawn, unmeasured sketches instead of detailed CAD drawings.
- Vague line items for plumbing fixtures without brand or model numbers.
- An unwillingness to show photos of framing or under-drywall work.
- Pressuring you for cash-only discounts to avoid pulling required municipal permits.
Ask prospective contractors how they handle appliance specifications. A true specialist will request exact model numbers for your range, refrigerator, and sink before writing a final estimate, ensuring that rough-ins, electrical panel loads, and gas line sizes are calculated correctly from day one.
The same rigorous standards apply to wet environments. Water damage behind tile walls is one of the most common and expensive failures in home construction. When interviewing bathroom remodeling services, make your first question about their waterproofing methodology.
Do they use traditional paper and pan liners, or modern uncoupling membranes and sealed board systems? A contractor who cannot clearly explain their moisture-barrier process or who attempts to skim over tile underlayment specs is a contractor who may leave you dealing with hidden mold and rotted subfloors two years down the line.
Phase 4: Expanding Exterior Structures and Property Features

Once the main residence is secure and interior work is underway, attention naturally turns outward. Expanding your living footprint to include outbuildings, outdoor entertainment zones, and water features adds substantial property value, but it brings unique zoning, excavation, and structural challenges.
Outdoor development follows a clear progression:
- Heavy Excavation and Utilities: Complete major earthmoving for items like pools and trench main utility lines before final landscape grading.
- Structural Outbuildings: Construct post-frame structures, workshops, or detached garages while heavy equipment access to the yard is still available.
- Hardscapes and Finishing: Build decks, lay patios, and plant lawns only after heavy machinery has finished operating on the lot.
Navigating Large-Scale Earthmoving Projects
Installing large outdoor amenities requires heavy machinery and deep excavation. If you plan to add a pool, this work must be coordinated carefully with the rest of your site layout. Bringing heavy excavators across a newly poured concrete driveway or over freshly installed underground utility lines can ruin thousands of dollars of work in seconds.
A reputable swimming pool builder will insist on conducting a comprehensive site survey before signing a contract. This survey identifies underground utility mainlines, property setbacks, water table depths, and soil stability.
Always ask how the builder handles dirt displacement. Excavating a pool generates tons of excess soil. If your contract does not explicitly state whether the builder is hauling that dirt off-site or using it to grade your lot, you could end up paying thousands in unexpected removal fees.
Adding Multi-Use Outbuildings
For properties with adequate acreage, building detached workshops, garages, or storage facilities is a popular way to maximize utility. These projects require structural approaches that differ from traditional home framing.
When evaluating your structure type, weigh the pros and cons of post-frame construction against traditional stick-built framing. Post-frame construction, commonly used in pole barns, offers fast installation, minimal foundation requirements, excellent cost-efficiency per square foot, and wide clear-span interiors. Traditional stick-built framing blends seamlessly with your home’s existing aesthetic and is ideal if you plan to fully finish the interior living space, though it requires a full continuous footing and carries a higher cost per square foot.
When planning a large workshop or equipment barn, working with crews experienced in post-frame construction allows for rapid installation without deep continuous concrete foundations. However, make sure the builder you hire understands local wind and snow load codes. Outbuildings must meet the same structural engineering standards as your main home, especially if you plan to supply them with electricity, water, or climate control later on.
Phase 5: Finalizing Exterior Surfaces and Contract Execution
The final phase of a whole-home renovation brings everything together. This is where high-visibility exterior surfaces are installed and final contract details are settled.
Protect your cash flow during this final phase by using a milestone-based payment schedule:
- Initial Deposit: Limit upfront deposits to 10–15% upon contract signing.
- Progress Payment 1: Release funds only after major framing and rough-ins pass city inspection.
- Progress Payment 2: Release funds after drywall and major surface installations are finished.
- Final Payment: Retain the final 10% until every item on your punch-list is completed to satisfaction.
Selecting High-Traffic Outdoor Builders
Outdoor living spaces act as a bridge between your home’s interior and your yard. Building elevated platforms, composite steps, and transition areas requires precise structural carpentry that can stand up to constant weather exposure.
When hiring for decking services, focus heavily on material expertise and structural framing methods.
- Material Selection: Ask the builder to compare composite, pressure-treated lumber, and hardwoods for your climate.
- Joist Spacing: Ensure composite materials use tighter joist spacing (often 12 inches on center rather than 16) to prevent sagging over time.
- Fastener Systems: Inquire about hidden fastener systems and joist-tape protection to extend structural life.
- Flashing Details: Verify how the structure attaches to your home’s ledger board to stop hidden rot.
Tying the Project Together with a Unified Team
Towards the end of a long renovation, small detail tasks can easily fall through the cracks. This is where partnering with an adaptable, broad-scope remodeling company helps bring the project across the finish line. A well-rounded team can step in to handle punch-list items, wrap up exterior trim, complete window wraps, and ensure the transition between old and new construction looks seamless.
During these final stages, protect your finances by enforcing strict contract terms. Never pay large sums upfront; structure payments around verifiable completion milestones. Require lien waivers from all sub-contractors before making final progress payments, and keep a retainage—typically 10 percent of the total project cost—until every single item on your final punch list is finished and inspected.
Navigating Your Renovation with Confidence
Renovating an entire home is a long journey, but it does not have to be a nightmarish process. The key is to approach your project with a clear strategy, treat your property as a sequence of distinct zones, and hire verified specialists for every specific trade.
Take your time during the vetting process. Ask the tough questions about insurance, permits, and past project performance. Require detailed, itemized contracts, and never rush into signing a deal just to get work started a week earlier. By holding your contractors to high standards and maintaining organized oversight from day one, you can protect your investment, minimize disruption to your life, and build a home that brings you pride and comfort for decades to come.